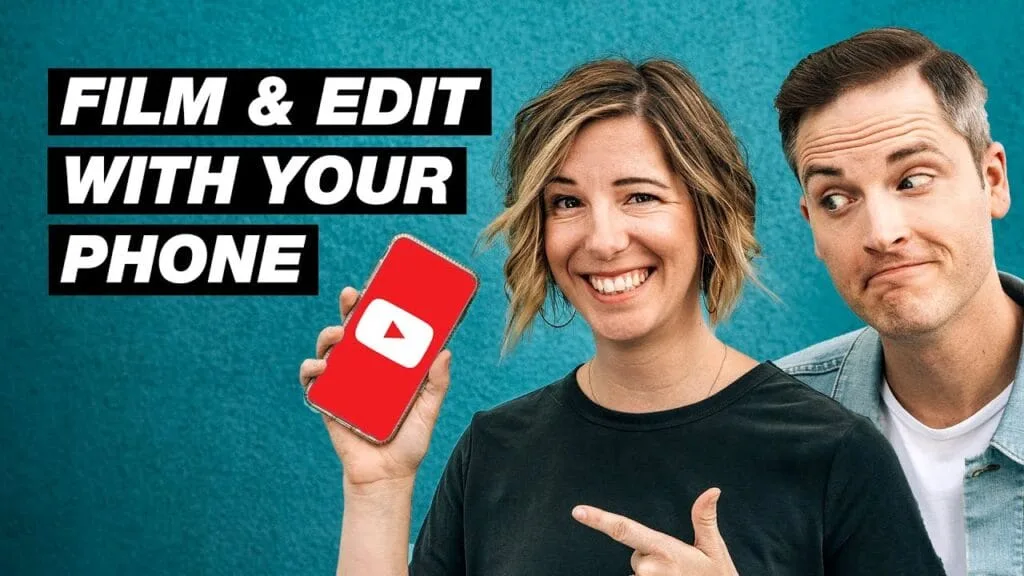
Learn how to shoot professional videos using just your smartphone. Get tips on gear, settings, and content delivery to boost your YouTube presence. Part of a comprehensive series on smartphone video production.
Shooting a YouTube Video with Your Smartphone
Creating high-quality YouTube content doesn’t require expensive cameras or complex equipment. In fact, all you need is your smartphone. This guide will walk you through five essential tips on how to shoot a YouTube video using just your smartphone. With insights from Sean Cannell and Heather Torres from Think Media, you’ll learn how to maximize your smartphone’s potential to create engaging content.
Understanding the Basics
When starting on YouTube, it’s easy to get overwhelmed by the gear and technical know-how. However, starting with what you already have—your smartphone—can be incredibly empowering. Sean Cannell, an experienced content creator, and Heather Torres, emphasize that even an older model like the iPhone 8 can produce excellent video content. This blog post will outline the basics of shooting your video, from setting up the shot to delivering your content effectively.
Preparing for the Shoot
Use Selfie Mode to Find the Best Shot
Before you set up any gear or finalize your shot, put your phone in selfie mode. This simple step will help you get a feel for your surroundings and see what the background will look like. Heather recommends walking around the room with your phone in selfie mode to determine the best spot for your shot. This helps you assess the lighting, the busyness of the background, and the overall composition. Keep in mind that even experienced content creators take multiple attempts to get the perfect shot, so don’t hesitate to move around and experiment.
Essential Gear for Quality Content
Basic Gear Recommendations
Although you can start with just your smartphone, investing in some basic gear can significantly improve the quality of your videos. Here’s a quick list of recommended equipment:
- Lighting Kit: Proper lighting can make a huge difference. A good lighting kit can be found for under $100.
- Microphone: Audio quality is crucial. Using an external microphone that plugs into your phone can enhance the sound quality.
- Tripod and Smartphone Mount: A stable shot is vital. A basic tripod and a smartphone mount can help you achieve this for around $150.
Using these tools can greatly enhance the production quality of your videos, making them more engaging for your audience.
Locking Down Your Shot
Choosing the Right Camera Mode
One common dilemma for smartphone videographers is whether to use the selfie camera or the normal camera. While the selfie camera is convenient, the normal camera typically offers higher quality. Sean and Heather recommend using the normal camera for your main shots. If you’re worried about not being able to see yourself, do a test shot first. Set up the camera, press record, and then sit down and speak. This allows you to check the frame, audio, and background before you start the actual recording.
Making Eye Contact with the Lens
If you decide to use the selfie camera, avoid the common mistake of looking at your own reflection instead of the lens. This can make it seem like you are not making eye contact with your audience. Always look at the lens to create a more direct and engaging connection with your viewers.
Optimizing Video Settings
Select the Right Resolution
Modern smartphones offer a range of video settings. For most YouTube videos, 1080p is a great option. However, if your phone supports 4K, use it. In this series, for instance, Sean and Heather used an iPhone 8 to shoot in 4K at 30 frames per second. Shooting in 4K offers more flexibility in post-production. You can always downscale the video to 1080p later, which will still result in higher video quality on YouTube.
Delivering Your Content
Plan Your Content
Before you hit the record button, it’s essential to know what your video will be about. Heather emphasizes the importance of research and preparation. Outline your main points and structure your video to ensure a smooth flow. This not only helps you record more efficiently but also keeps your audience engaged from start to finish.
Record and Refine
Recording your video may require multiple attempts. This is perfectly normal. Don’t get discouraged if you stumble or need to restart. The key is to keep going and refine your delivery with each attempt. After capturing all your footage, it’s time to move on to the next steps, which include editing and creating a compelling thumbnail.
What’s Next?
With your footage captured, the next step is editing your video to polish it and make it YouTube-ready. Following that, creating an eye-catching thumbnail is crucial for attracting viewers. These topics will be discussed in the subsequent parts of the series.
Conclusion
Shooting a YouTube video with your smartphone is not only feasible but also effective, especially for beginners. Start with the basics: use selfie mode to find the best shot, invest in essential gear, lock down your shot, optimize video settings, and plan your content thoroughly. With these steps, you’ll be well on your way to producing engaging YouTube videos using just your smartphone.
Don’t forget to check out the next parts of the series for more detailed guides on editing your videos and creating thumbnails.
Video Credit:


